Tutorial
This page provides a tutorial for using the web application.
Table of contents
Introduction
We will present the steps for the generation and analysis of a personalized SARS-CoV-2-based protein-protein interaction network. Central to this case study are the host factors identified by Daniolski et al. (in the study available at doi.org/10.1016/j.cell.2020.10.030 ) as being essential for the SARS-CoV-2 infection.
More specifically, we will follow the steps:
- Before starting, we selected for further use the set of 44 host factors that appear in the intersection of the top 200 identified in each of the two experiments of cell survivability performed in the study, at both low and high multiplicity of infection.
- We will begin by building a custom network around these selected host factors, by using interactions from the OmniPath and SIGNOR databases. Additionally, we will also use in this step the drug-targets of the approved drugs in DrugBank.
- Then, we will continue with a structural target controllability analysis of the generated network, using as preferred inputs the same drug-targets of the DrugBank-approved drugs, and as targets the selected host factors.
- Lastly, we will perform a very brief analysis of the results.
The generated network, its corresponding analysis and the obtained control paths are publicly available.
Video tutorial
Text tutorial
We start by navigating to the network building page. Alternatively, we can navigate to the page of an already created network and choose to re-create it, such that the form fields will be automatically filled in.
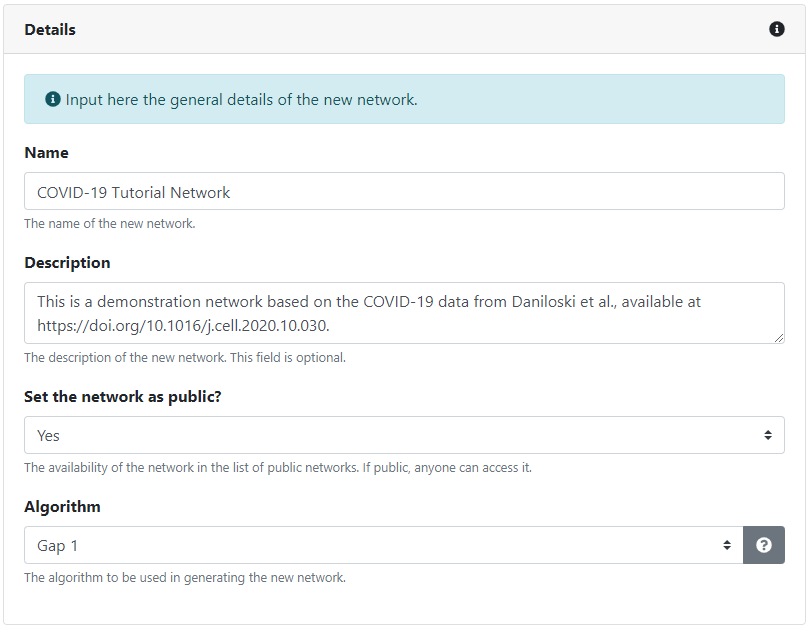
We first need to provide a few details about the new network. We need to give it a name (which doesn't have to be unique, as a unique identifier will be automatically assigned to the network) and, optionally, a suitable description. If we are logged in, we can also make the network private, such that only the users we manually assign can access it. Unregistered users can only create and access public networks. The actual interactions which will be included in the network depend on the chosen generation algorithm. Brief descriptions for each algorithm are available.
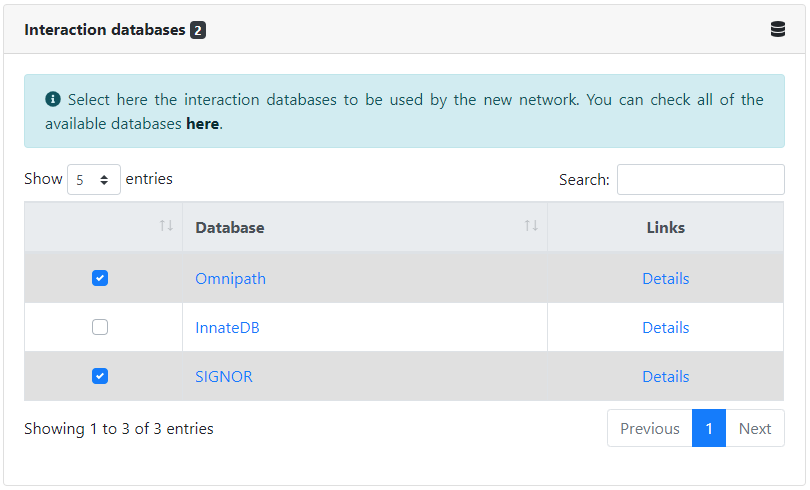
The first data-specific inputs that we need to provide consists of the databases in which to look for the interactions of the network. The same interaction can appear in multiple databases, and they will be automatically matched. All available databases can be found here.
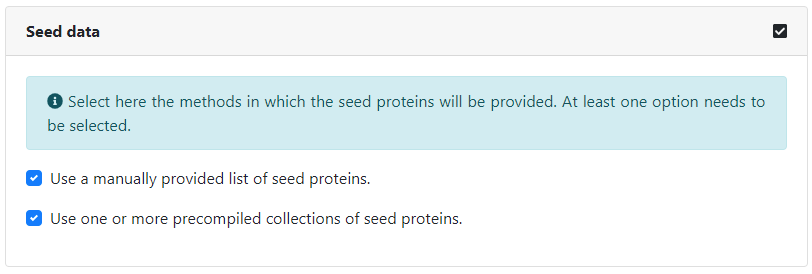
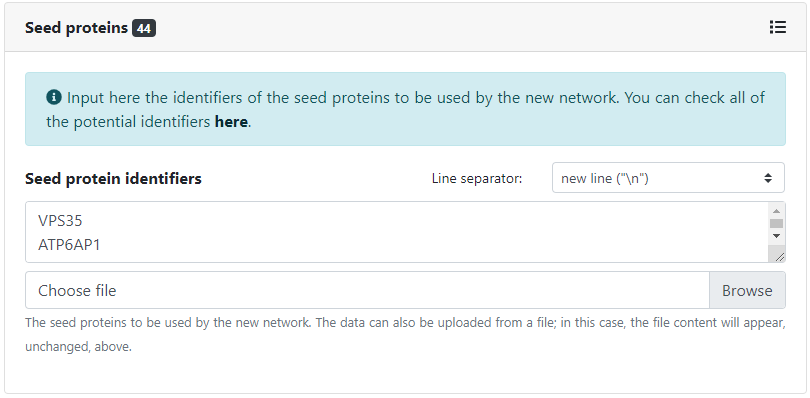
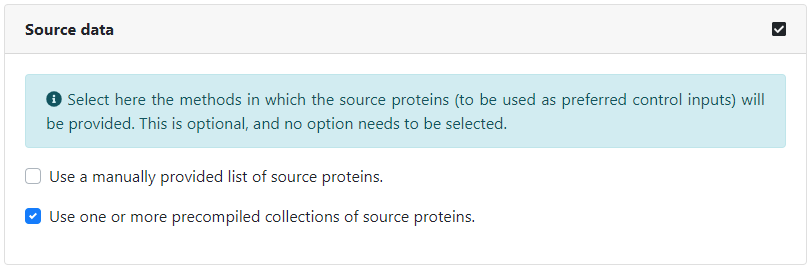
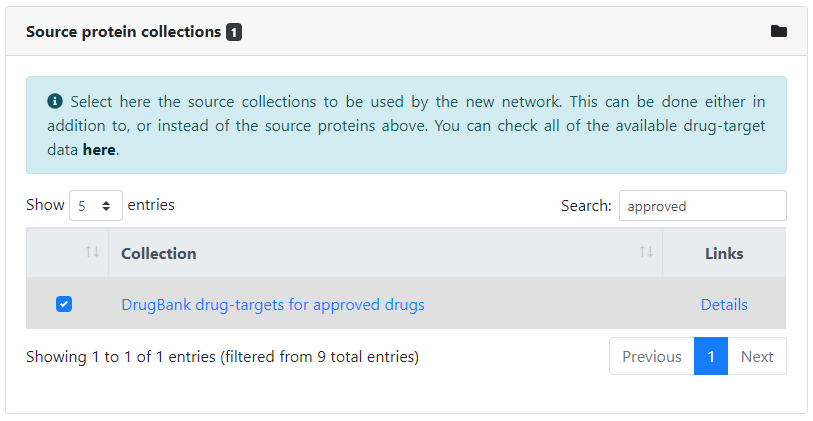
Then, we need to specify how we will provide the seed proteins around which to build the network. We can input them manually by typing in their identifiers, or select one or more collections of seed proteins, and they will be automatically matched. In this case, we will provide both, by typing manually the set of selected host factors and by selecting the collection of drug-targets corresponding to the approved drugs in DrugBank. All available potential protein identifiers can be found here, and all available collections of seed proteins can be found here.

Once all of the inputs have been successfully filled in, we can create the network.

An error will immediately be returned if any of the required data is missing, and we will be prompted to change the corresponding inputs. Otherwise, the network will be defined and we will be redirected to its corresponding page. The next step is the actual network generation, which will be performed automatically in the background. We can check the current status of the network at all times. If an error would occur at any point, it would be shown in the message log at the bottom of the page. Otherwise, the network will be successfully generated and can be inspected, shared, and analyzed.
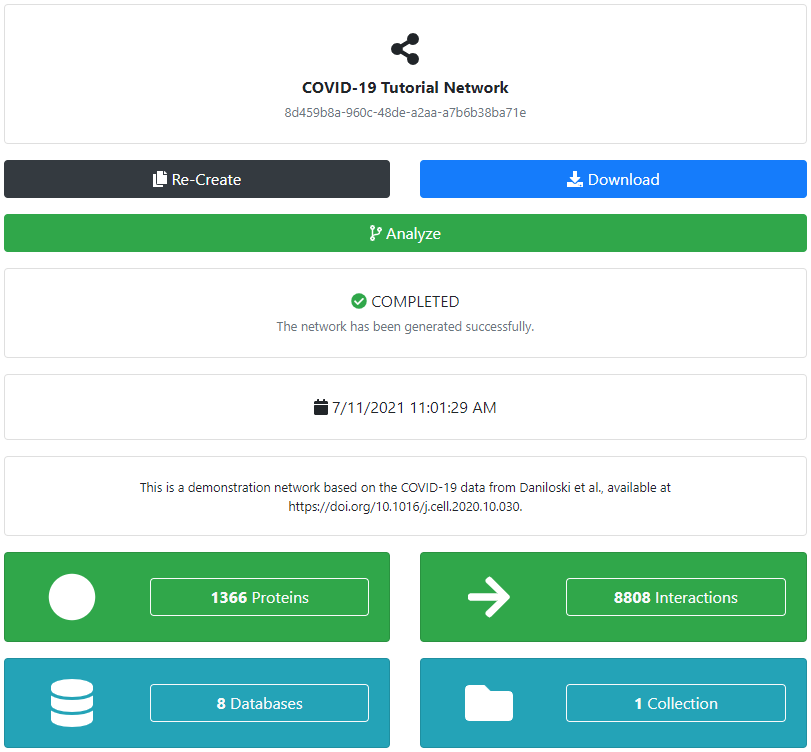
We can download the completed network in a variety of formats for offline processing and visualization (for example, using Cytoscape ). Additionally, if the network is relatively small (for performance reasons), we can also visualize it in the browser. However, this can quickly become overwhelming even for smaller networks.
Once a network has been successfully generated, we can analyze it by choosing the corresponding option from its main page.
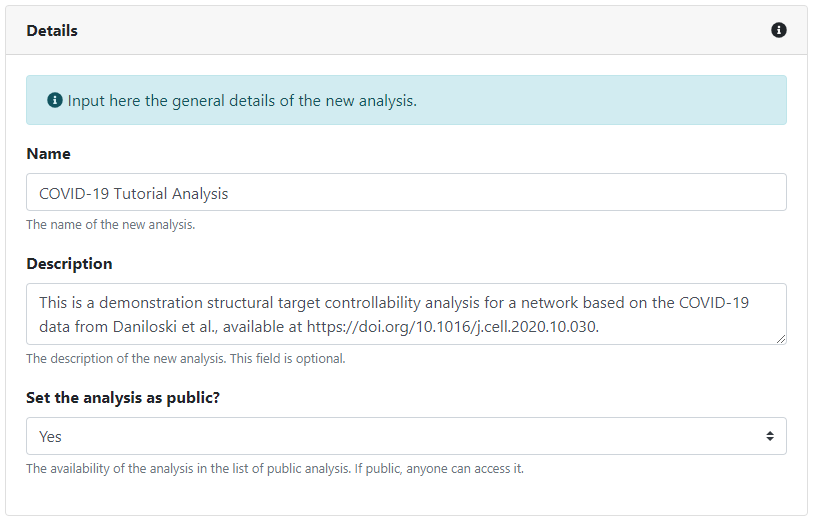
Similarly, we first need to provide a few details about the new analysis. Thus, we need to give it a name (which again doesn't have to be unique, as a unique identifier will be automatically assigned to the analysis) and, optionally, a suitable description. Once more, if we are logged in, we can make the analysis private, such that only the users we manually assign can access it. Unregistered users can only create and access public analyses.
We can optionally choose to provide the source proteins to be used as preferred inputs in the analysis. Just like for seeds, we can input them manually by typing in their identifiers, or select one or more collections of source proteins. In this case, we will select the collection of drug-targets corresponding to the approved drugs in DrugBank. All available collections of source proteins can be found here.
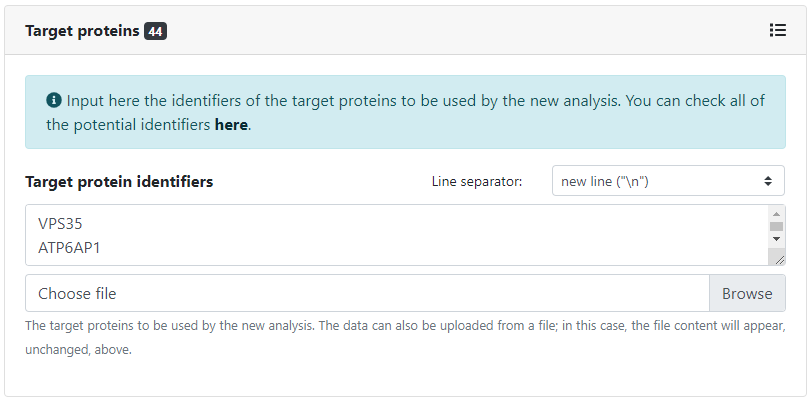
In the same manner, we need to specify how we will provide the target proteins to be controlled in the analysis. As before, we can input them manually by typing in their identifiers, or select one or more collections of target proteins. In this case, we will type manually the set of selected host factors. All available collections of target proteins can be found here.

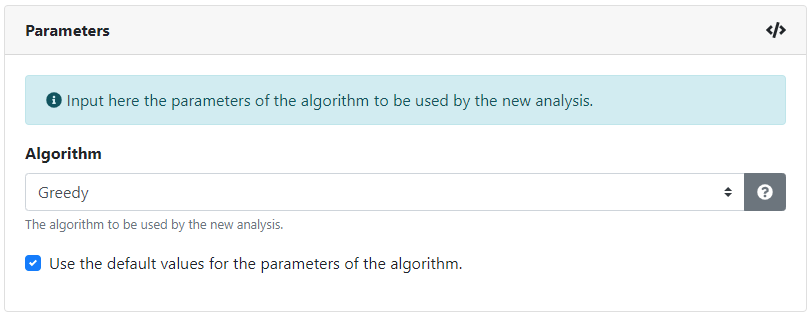
The controllability analysis can use the greedy algorithm described here or the genetic algorithm described here . Each algorithm has different parameter requirements and each parameter can be configured, with default values preloaded. Brief descriptions for each algorithm and for each parameter are available.
Once all of the inputs have been successfully filled in, we can create the analysis.

An error will immediately be returned if any of the required data is missing, and we will be prompted to change the corresponding inputs. Otherwise, the analysis will be defined and we will be redirected to its corresponding page. The next step is the actual analysis run, which will be performed automatically in the background. We can check the current status of the analysis at all times. If an error would occur at any point, it would be shown in the message log at the bottom of the page. Otherwise, the analysis will be successfully completed and can be inspected, and shared.
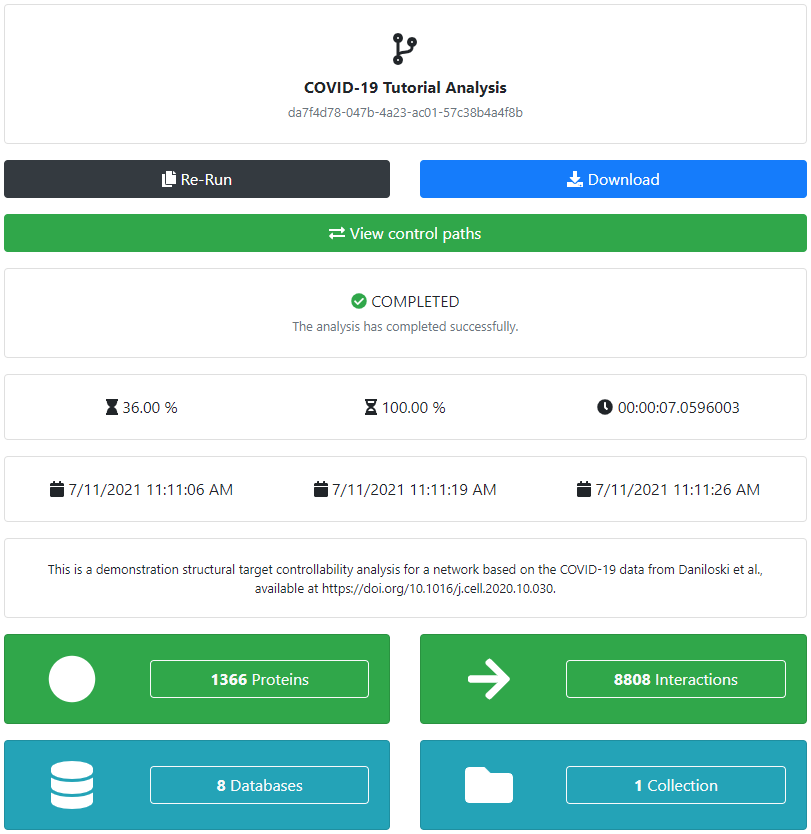
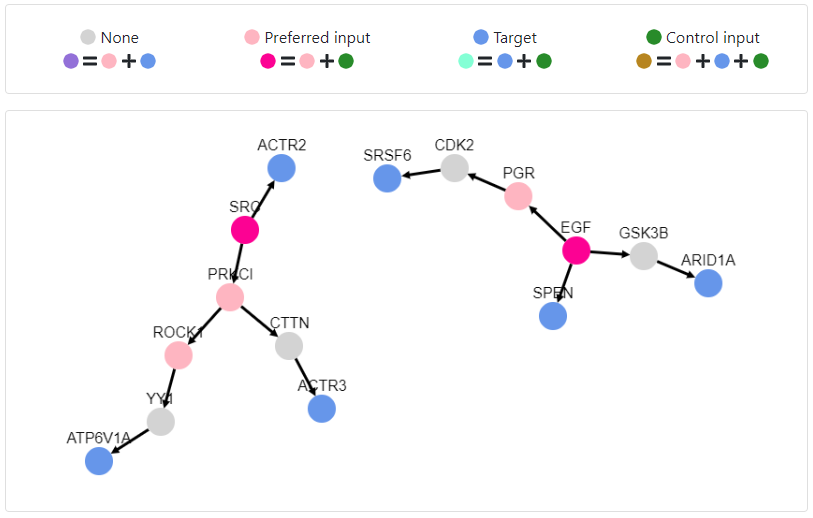
As before, we can download the completed analysis in a variety of formats for offline processing and visualization, and, if the corresponding network is relatively small, we can also visualize it in the browser.
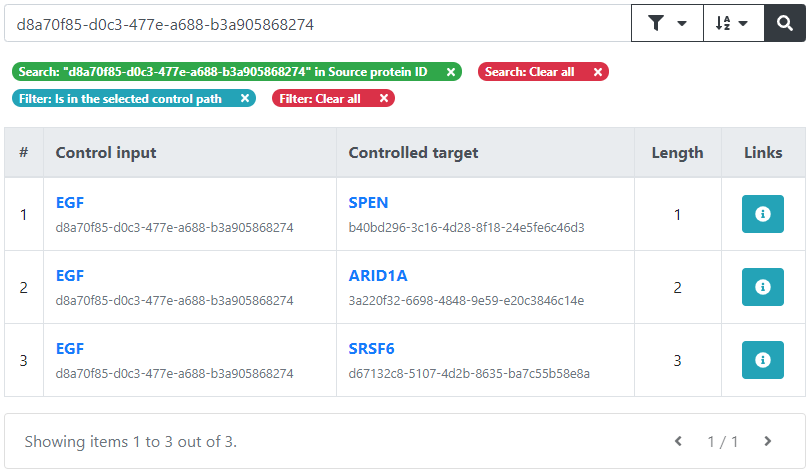
The output of the controllability analysis consists of one or more sets of controlling inputs which are able to control all of the provided targets. These controlling sets can be separately inspected, visualized, and downloaded.
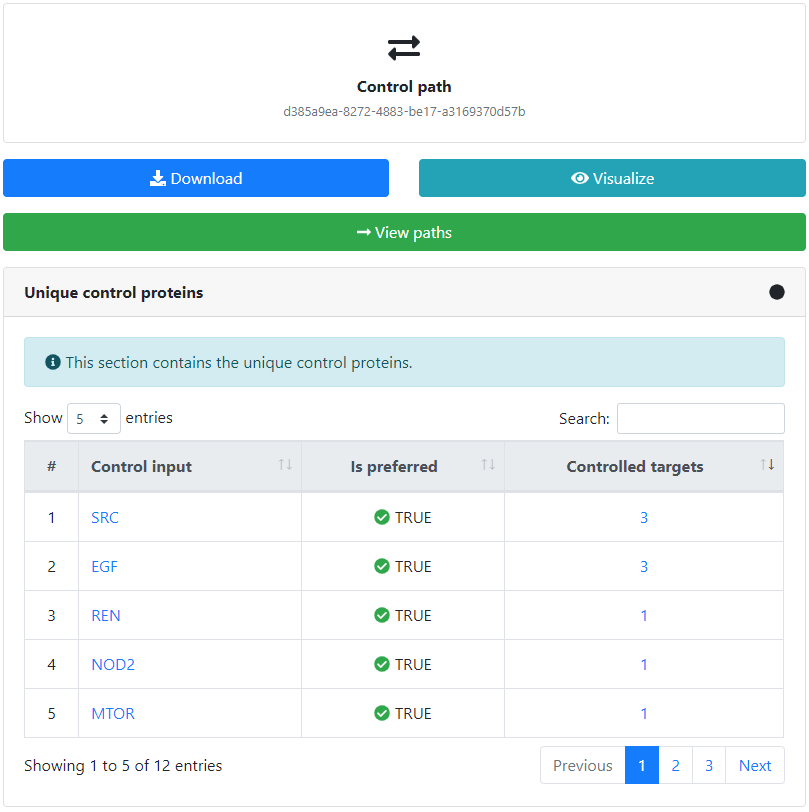
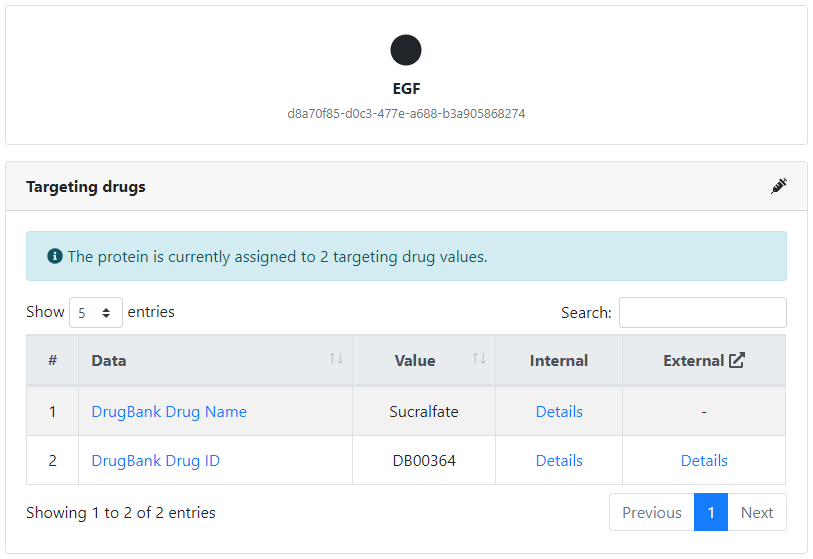
Furthermore, we can view more details about each of the control inputs, such as the complete set of targets that it controls by clicking on the corresponding number, or the potential drugs targeting it by clicking on its name.